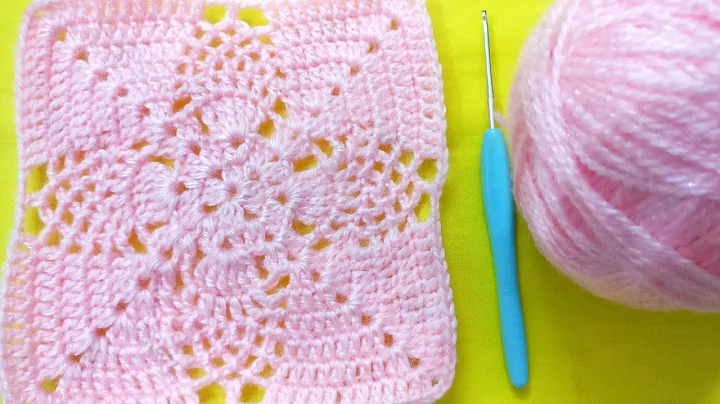
Beginner's Guide to Crochet a Hooded Cowl
Table of Contents:
- Introduction
- Materials Needed
- Checking Gauge
- Starting the Cowl
- Creating the Neck Portion
- Beginning the Hood
- Working the Hood Rows
- Finishing the Hood
- Sewing the Hood Together
- Adding Buttons and Finishing Touches
How to Make a Hooded Cowl: A Step-by-Step Crochet Tutorial
- Introduction
Welcome to this step-by-step crochet tutorial on how to make a hooded cowl. In this tutorial, we will guide you through the process of creating a cozy and fashionable accessory that will keep you warm during the colder months. Whether you're a beginner or an experienced crocheter, this tutorial is designed to help you create a hooded cowl with ease.
- Materials Needed
Before we begin, let's gather all the necessary materials for this project. You will need:
- Measuring tape
- Size 5 yarn (such as Lion Brand Color Made Easy)
- 6.5mm (size K) crochet hook
- Scissors
- Yarn needle
- Two buttons
- Checking Gauge
To ensure the correct size of your hooded cowl, it is essential to check your gauge. Using your measuring tape, determine if you have approximately 7.5 double crochet stitches by 6 rows to equal 3 inches. Adjust your crochet hook size if needed to achieve the correct gauge.
- Starting the Cowl
To begin the cowl, chain 77 stitches. Starting from the third chain from the hook, half double crochet into each chain across. This will create the neck portion of the cowl. If desired, you can choose to work into the back loops only for a slight ribbed texture.
- Creating the Neck Portion
Continue to half double crochet in each stitch across for a total of seven rows. At the end of row seven, fasten off your yarn and count ten stitches. Insert your hook into the eleventh stitch and create a slip stitch to secure the yarn.
- Beginning the Hood
Chain two, and half double crochet into the same stitch where you created the slip stitch. Proceed to half double crochet into the next 55 stitches, including the first stitch. Leave the remaining ten stitches unworked.
- Working the Hood Rows
Chain two and turn your work. Half double crochet in every stitch across for 19 rows, repeating the same pattern. This will result in a total of 20 rows for your hood.
- Finishing the Hood
After completing row 28, fasten off the yarn. Fold your hood in half, ensuring that you have a long end left for sewing. Use an invisible stitch or whip stitch to sew the top of the hood together. This will provide a secure seam, especially considering the thickness of the yarn used.
- Sewing the Hood Together
Sew the top of the hood together by working in and out of the outermost loops on each side of the stitches. Secure with a zigzag pattern or whip stitch, ensuring a neat and secure finish. Weave in any loose ends for a polished look.
- Adding Buttons and Finishing Touches
To button your hooded cowl, select the placement of your buttons. Consider the options for buttoning the cowl for different looks and styles. Sew the buttons inside the line where the hood ends, ensuring they are secure.
Now that you have completed your hooded cowl, it's ready to be worn and enjoyed. Stay warm and stylish with this cozy accessory!
Highlights:
- Step-by-step crochet tutorial for a hooded cowl
- Designed for all skill levels
- Cozy and fashionable accessory for colder months
- Materials needed include yarn, crochet hook, measuring tape, scissors, buttons, and yarn needle
- Importance of checking gauge for correct sizing
- Instructions for creating the neck portion, starting the hood, and working the hood rows
- Finishing techniques including sewing the hood together and adding buttons
- Tips for different buttoning options and securing the cowl
- Completed cowl provides both warmth and style
FAQ:
Q: Can I modify the size of the hooded cowl?
A: Yes, you can modify the size of the cowl by adjusting the number of initial chains and the number of rows worked for the hood.
Q: Can I use a different yarn weight for this project?
A: While the tutorial uses a size 5 yarn, you can choose a different weight yarn, keeping in mind that it may alter the final size and drape of the cowl.
Q: Do I need advanced crochet skills to complete this project?
A: No, this tutorial is suitable for crocheters of all skill levels, with detailed step-by-step instructions provided.
Q: Can I add additional embellishments to the hooded cowl?
A: Absolutely! Feel free to add your personal touch with embroidery, appliques, or other decorative elements to customize your hooded cowl.
 WHY YOU SHOULD CHOOSE BEAUTYBADY


