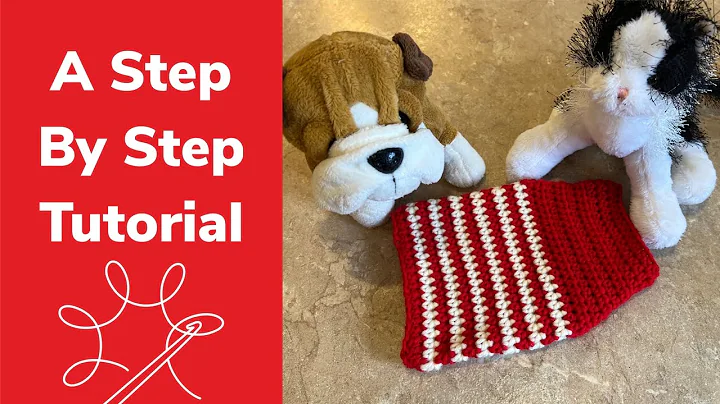
Adorable Bear Wallet/Card Holder | Crochet Tutorial
Table of Contents:
- Introduction
- Materials Needed
- Creating the Main Piece
- Creating the Card Slot
- Assembling the Pieces
- Attaching the Metal Clasps
- Finishing Touches
Article
How to Make a Crochet Wallet with Card Slot: A Step-by-Step Guide
Crocheting is a popular hobby that allows you to create beautiful and functional items. One of the items you can make is a crochet wallet with a card slot. In this step-by-step guide, we will walk you through the process of creating your own crochet wallet. From gathering the materials to assembling the pieces, we will cover everything you need to know. So grab your crochet hook and let's get started!
1. Introduction
Introduction paragraph discussing the popularity of crocheting and the purpose of this guide.
2. Materials Needed
Before you begin, make sure you have all the necessary materials. You will need:
- Weight 4 medium yarn in two different colors (e.g., brown and white)
- Crochet hook
- Slip knot
- Stitch marker
- Darning needle
3. Creating the Main Piece
Start by attaching a slip knot to your crochet hook using the main color yarn. Chain 18 and single crochet into the second chain from your hook. Continue single crocheting until you reach the end of the chain. Chain one at the end of each row and repeat this process for a total of 26 rows. Once you reach the 26th row, chain one and fasten off.
4. Creating the Card Slot
Using the same yarn, attach a slip knot to your hook and chain 18. Single crochet into the second chain from your hook and continue single crocheting until you have a total of 11 rows. Chain one at the end of each row. On the 12th row, start with two single crochets and then double crochet five times into the third stitch. Single crochet 11 stitches and double crochet five times into the first stitch of the remaining three stitches. Single crochet in the last two stitches, chain one, and fasten off.
5. Assembling the Pieces
Align the two rectangle pieces, making sure the rows line up correctly. Use a stitch marker to mark the top-right corner of the smaller rectangle. Attach the main color yarn to the top-left corner of the smaller rectangle and slip stitch to connect the yarn. Single crochet along the outer edges of the rectangles, ensuring your hook goes through both panels. Remove the stitch marker when you reach it. Chain one and fasten off.
6. Attaching the Metal Clasps
Flip your work upside down, so the card slot is facing the top. Align the bare piece at the bottom and mark where the bottom of the earlines up with the bigger piece using a stitch marker. Attach the main color yarn to where the ear ends and single crochet along the outer edges until you reach the stitch marker. Chain one and fasten off.
7. Finishing Touches
Attach the metal clasps to the inside of your wallet. Use a darning needle to weave in any loose ends to the inside of your work. And voila! You have successfully created your very own crochet wallet with a card slot.
Pros
- Allows for creativity and personalization
- Functional and practical item
- Makes a great gift
Cons
- Requires knowledge of crochet stitches
- Time-consuming process
In conclusion, making a crochet wallet with a card slot is a rewarding project for crochet enthusiasts. By following this step-by-step guide, you can create a unique and functional accessory that is sure to impress. So grab your yarn and crochet hook, and let your creativity shine!
Highlights:
- Create your own crochet wallet with card slot
- Step-by-step guide for beginners and experienced crocheters
- Use weight 4 medium yarn and basic crochet stitches
- Assemble the pieces and add metal clasps for a professional finish
- Personalize and gift your handmade crochet wallet
FAQ
Q: How long does it take to make a crochet wallet with a card slot?
A: The time taken to complete a crochet wallet with a card slot depends on the individual's crochet skills and experience. It can range from a few hours to several days.
Q: Can I use different colors for the yarn?
A: Absolutely! You can choose any color combination that suits your preference and style.
Q: Can I add more card slots to the wallet?
A: Yes, you can customize the design by adding multiple card slots based on your needs. Simply adjust the pattern and measurements accordingly.
 WHY YOU SHOULD CHOOSE BEAUTYBADY


