Learn the Easiest Crochet Pillow Pattern
Table of Contents
- Introduction
- Materials Needed
- Creating the Front of the Pillow
- Double Stranding the Yarn
- Making a Slipknot and Chaining 31
- Single Crocheting Across the Row
- Creating the Back of the Pillow
- Chain 1 and Single Crochet Across the Row
- Repeat for a Total of 38 Rows
- Sewing the Front and Back Together
- Inserting the Hook into the Corners
- Single Crocheting Around the Perimeter
- Stuffing the Pillow and Finishing the Edges
- Inserting the Pillow Form
- Single Crocheting the Last Side
- Weaving in Ends and Finishing Off
How to Make a Basic Crochet Pillow
Welcome back to my channel! Today, I am going to show you how to make a basic crochet pillow using a simple pattern. This project is perfect for beginners as it only requires knowledge of chaining and single crocheting. I will also be teaching you a special technique called the Fox technique, so be sure to stick around until the end of the video for all the details.
Materials Needed
Before we get started, let's gather all the materials we'll need for this project. You will need:
- Vanished Choice yarn in an oatmeal color (2 skeins)
- An N or P hook (I recommend using a Clover Amour hook)
- A 14-inch by 14-inch pillow form
Creating the Front of the Pillow
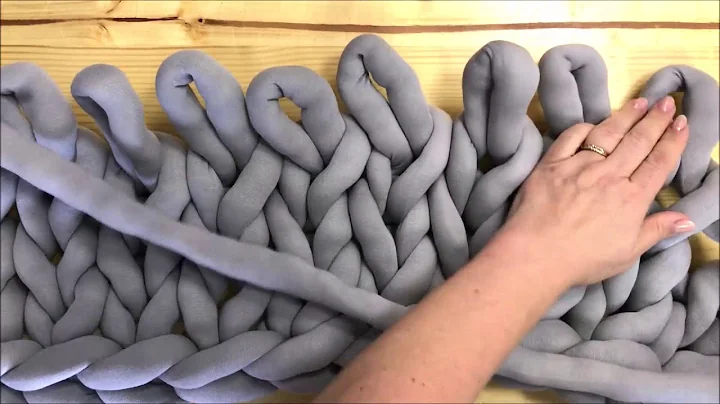
To begin, we will create the front panel of the pillow. We will be double stranding the yarn by holding two strands together from two different skeins. This will give the pillow a thicker and bulkier look. Start by making a slipknot with your double-stranded yarn and then chain 31. Once you have 31 chains, single crochet in the first stitch from your hook. Single crochet all the way down the row, ending with 30 single crochets.
Creating the Back of the Pillow
Next, we will create the back panel of the pillow. Chain 1 and single crochet across the row, just like we did for the front panel. Repeat this process for a total of 38 rows. Remember to refer to my crochet beginner series if you need help with chaining or single crocheting. By the end, you should have two evenly sized squares, each with 30 single crochets across and 38 rows.
Sewing the Front and Back Together
Now that we have both the front and back panels, it's time to sew them together. Insert your hook into one corner of the front panel and single crochet all around the perimeter, joining the two panels with each stitch. Make sure to work three single crochets in each corner, as this will create a nicely pointed corner. Continue single crocheting until all sides are sealed, except for one.
Stuffing the Pillow and Finishing the Edges
Before we finish the last side, take your 14-inch pillow form and insert it into the pocket created by the sewn panels. This may require a bit of maneuvering to fit the pillow form, but it will result in a better fit. Once the pillow is inside, continue single crocheting along the last side. Make sure to stuff the pillow as you go. Finish off the yarn, weave in any loose ends, and your basic crochet pillow is complete!
Highlights
- This crochet pillow pattern is perfect for beginners.
- The pillow is created using basic crochet stitches, such as chaining and single crocheting.
- The technique of double stranding the yarn gives the pillow a thicker and bulkier look.
- The sewing technique used to join the front and back panels creates a clean and polished finish.
- The finished pillow is both functional and stylish, making it a great addition to any home decor.
FAQ
Q: Is this pattern suitable for beginners?
A: Yes, this crochet pillow pattern is perfect for beginners as it only requires knowledge of chaining and single crocheting.
Q: Can I use a different size of pillow form?
A: Yes, you can use a different size of pillow form. Just make sure to adjust the dimensions of your crochet panels accordingly.
Q: Can I use a different color of yarn?
A: Absolutely! Feel free to choose any color of yarn that matches your personal style and home decor.
Q: How long does it take to complete this project?
A: The time required to complete this project will vary depending on your crochet speed and experience level. On average, it should take a few hours to complete.
Q: Can I use a different crochet hook?
A: Yes, you can use a different crochet hook as long as it is suitable for the yarn weight you are using.


 WHY YOU SHOULD CHOOSE BEAUTYBADY