Adorable Fox Coffee Cozy: Learn to Crochet
Table of Contents
- Introduction
- Materials Needed
- Pattern Instructions
- 3.1 Chain Stitches and Mug Size Adjustment
- 3.2 Rows One through Four - Single Crochet
- 3.3 Switching Yarn Colors
- 3.4 Rows Five through Twelve - Single Crochet
- 3.5 Creating the Ears
- 3.6 Finishing the Ears and Continued Rows
- 3.7 Creating the Seam
- 3.8 Adding the Nose
- 3.9 Adding the Eyes
- Conclusion
Crocheting an Adorable Fox Coffee Sleeve
Are you looking for a fun and unique crochet project? Look no further! In this article, I'll be guiding you through the process of crocheting an adorable fox coffee sleeve. With just a few materials and some basic crochet stitches, you'll have a cute and functional accessory for your morning coffee. So grab your yarn and let's get started!
Materials Needed
Before we dive into the pattern instructions, let's gather all the materials you'll need:
- Cream yarn
- Burnt orange yarn
- Crochet hook
- Yarn needle
- Stitch marker
Now that we have everything ready, let's move on to the pattern instructions.
Pattern Instructions
3.1 Chain Stitches and Mug Size Adjustment
To begin, we'll start with the cream yarn and chain 35 stitches. This pattern is designed to fit a standard reusable Starbucks coffee mug, but you can adjust the number of chain stitches to fit the mug of your choice.
3.2 Rows One through Four - Single Crochet
For the first four rows, we'll be working single crochet stitches in each stitch across. Make sure to chain one and turn at the end of each row, resulting in a total of 34 stitches per row.
3.3 Switching Yarn Colors
At the end of the fourth row, we'll switch to burnt orange yarn. To do this, pull up a loop with the cream yarn as if you're going to do a regular single crochet, but instead of pulling through with cream, pull through with burnt orange. Then, tighten the working yarn of cream and the end of burnt orange. Chain one and turn the work to begin the next row.
3.4 Rows Five through Twelve - Single Crochet
For the next eight rows, we'll continue working single crochet stitches in each stitch across. Remember to chain one and turn at the end of each row. By the end of row twelve, you should have a total of 34 stitches per row.
3.5 Creating the Ears
Now, it's time to create the adorable fox ears. Start by creating a slip knot on your hook with cream yarn. Count over to the 11th stitch from the right side and create a half double crochet in that stitch. Add a double crochet and a triple crochet to the same stitch. Chain two and move on to the next stitch. Repeat the sequence for the second ear, counting over to the 22nd stitch from the right. Tie off with cream.
3.6 Finishing the Ears and Continued Rows
Reinsert the hook with burnt orange yarn and single crochet down the entire row, going over and around the ears. Make sure to keep the tails of cream yarn pulled towards the back of the project. Chain two at the corner of the ears to create a point. Continue single crocheting down the left side of the ear, then repeat the same steps for the right ear. Tie off with a long tail.
3.7 Creating the Seam
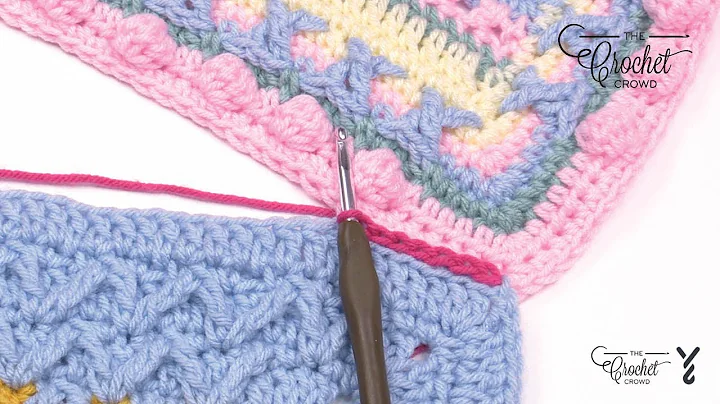
Flip the project backwards, keeping the wrong side facing out. Use the long tails and a yarn needle to create a seam up the back side of the coffee sleeve. Flip it right side out, and you'll have a seamless seam.
3.8 Adding the Nose
To create the cute little nose, make a magic circle and single crochet four stitches into the circle. Pull the loose end tight to tighten the circle. Slip stitch into the first stitch of the next round. Chain one and tie off with a medium tail for stitching it onto the face.
3.9 Adding the Eyes
For the final touch, add two cute little eyes above the nose. Count up from the center and over about two stitches to ensure symmetry. Secure the eyes in place.
Conclusion
Congratulations! You've successfully crocheted an adorable fox coffee sleeve. This sleeve not only adds a touch of whimsy to your morning coffee routine but also keeps your hands protected from the heat. I hope you enjoyed this crochet project. Don't forget to give this article a thumbs up and subscribe to my channel for more exciting crochet projects. Happy crocheting!
 WHY YOU SHOULD CHOOSE BEAUTYBADY


