Learn to Make a Stylish Crochet Sunflower Crossbody Bag
Table of Contents
- Introduction
- Materials Needed
- Granny Square Back Tutorial
- Step 1: Starting the Granny Square
- Step 2: Adding Double Crochet Clusters
- Step 3: Creating Corners
- Step 4: Repeating the Pattern
- Step 5: Joining the Granny Squares
- Adding a Button
- Attaching Back Straps
- Conclusion
Granny Square Back Tutorial
Crocheting a granny square back for your project is a great way to add a touch of elegance and creativity. In this tutorial, we will guide you through the process of creating a beautiful granny square back using a size 3.5 millimeter crochet hook.
Step 1: Starting the Granny Square
To begin, we will start with a magic ring and chain three. This chain three will count as your first double crochet. Next, you will work 15 double crochet stitches in the magic ring, totaling to 16 double crochet stitches. Pull and tighten the ring and work a slip stitch on your chain three. Chain one and cut your yarn.
Step 2: Adding Double Crochet Clusters
For the second round, you will work double crochet clusters in the chain one spaces. Start by chaining two and yarn over, then insert your hook and pull up a loop. Repeat this process three times, but note that the chain two counts as one stitch. Next, yarn over and pull through four loops, then yarn over and pull through two loops. Chain one and work a puff stitch in the next stitch. Finish this round by working four stitches in each chain space and work a post stitch in the last stitch. This will give you a total of 16 posts.
Step 3: Creating Corners
In round three, you will continue working double crochet clusters, but this time in the chain two spaces. For the corners, you will use triple crochet stitches. After completing the third round, you will have formed four corners.
Step 4: Repeating the Pattern
Round four is a repeat of round three, where you will continue working double crochet clusters and triple crochet corners. Follow the same pattern until you reach the end, working in each chain space and forming corners along the way.
Step 5: Joining the Granny Squares
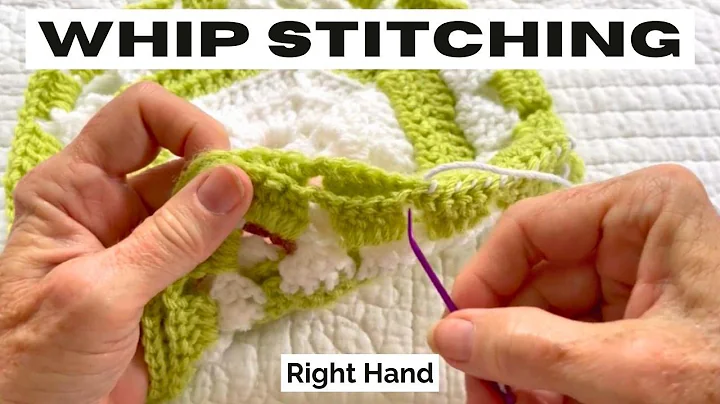
Once you have crocheted four granny squares, it's time to join them together. Start by joining two squares together using the back loops only. Repeat this process for the remaining two squares. Once all four squares are joined, turn your work and let the rough side face up. Fold and join the sides to create a seamless look.
Adding a Button
To secure your granny square back, add a button to the top corner. Use a matching color thread or yarn to attach the button securely.
Attaching Back Straps
Finally, attach back straps to your granny square back. The back strap can be crocheted separately and attached with a slip stitch to the back of the square. Follow a back strap tutorial for detailed instructions.
In conclusion, crocheting a granny square back adds a unique touch to your projects. With these simple steps, you can create a beautiful and stylish back for your crochet projects. Enjoy the process and have fun experimenting with different colors and patterns. Happy crocheting!
Highlights:
- Crocheting a granny square back adds elegance and creativity to your projects.
- Use a size 3.5 millimeter crochet hook for this tutorial.
- Start with a magic ring and work 15 double crochet stitches for the first round.
- Add double crochet clusters and triple crochet corners in the following rounds.
- Join four granny squares together to create a seamless back.
- Attach a button for closure and back straps for support.
FAQ
Q: What materials do I need for crocheting a granny square back?
A: You will need a size 3.5 millimeter crochet hook, yarn in desired colors, a button for closure, and back straps (optional).
Q: How many squares do I need to join for the granny square back?
A: You will need four granny squares to create the back.
Q: Can I use a different size crochet hook for this project?
A: Yes, you can use a different size crochet hook, but it may affect the size and tension of your granny square back.
Q: Are there any variations in the pattern that I can try?
A: Absolutely! Feel free to experiment with different colors, stitches, and sizes to create unique variations of the granny square back.
Q: Can I use this tutorial for other crochet projects?
A: While this tutorial specifically focuses on creating a granny square back, you can apply similar techniques to other crochet projects to add a touch of creativity and style.
 WHY YOU SHOULD CHOOSE BEAUTYBADY


