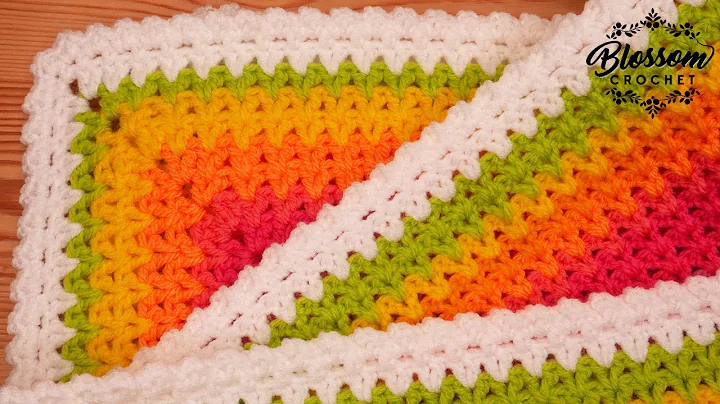
Learn to Crochet a Baby's Crown
Table of Contents
- Introduction
- Materials needed
- Basic crochet skills
- Abbreviations for crochet
- Making a slip knot
- Starting the first row
- Crocheting the first row
- Continuing with double crochet stitches
- Completing row one
- Starting row two
- Crocheting row two
- Finishing row two
- Starting row three
- Crocheting row three
- Completing row three
- Adding a ribbon to the baby crown
- Conclusion
How to Crochet a Baby Crown
Crocheting is a wonderful craft that allows you to create beautiful and functional items using just a hook and some yarn. In this tutorial, we will learn how to crochet a baby crown. This baby crown pattern is quick and easy, making it perfect for beginners. All you need are some basic crochet skills and a few materials.
Materials needed
To crochet a baby crown, you will need the following materials:
- 2.5 millimeters eye hook
- Four-ply yarn
- Ribbon (optional)
Basic crochet skills
Before we begin, let's go over some basic crochet skills that you will need to know:
- Chain stitch
- Slip stitch
- Double crochet
- Triple crochet
- Single crochet
If you are not familiar with these stitches, don't worry! We will explain them as we go along.
Abbreviations for crochet
In crochet patterns, stitches are often abbreviated to save space. Here are the abbreviations you will come across in this pattern:
- ch - chain stitch
- sl st - slip stitch
- dc - double crochet
- tr - triple crochet
- sc - single crochet
Make sure to refer to the description for the complete list of abbreviations.
Making a slip knot
To begin crocheting the baby crown, start by making a slip knot. Cross the yarn like a circle, insert the hook, and wrap the yarn around the hook. Pull it through to create a loop. Continue to wrap the yarn around the hook and pull it through the loop to create your first chain.
Starting the first row
Now that you have made your first chain, yarn over and pull through the loop on your hook. This will create three chain stitches. The first three chains will serve as the foundation for your first row.
Crocheting the first row
To start crocheting the first row, yarn over and insert your hook into the next chain. Yarn over again and pull through, creating three loops on your hook. Yarn over and pull through two loops, then yarn over and pull through the remaining two loops. This completes one double crochet stitch.
Continue crocheting one double crochet in every chain all the way across until you reach the end of row one. The total number of double crochet stitches should match the number of chains you made initially.
Continuing with double crochet stitches
For row two and subsequent rows, start by chaining five. Skip the first three double crochets and crochet one double crochet in the next stitch. Then, chain three and crochet another double crochet in the same stitch. This creates a V-stitch pattern.
Repeat this pattern of chaining two, skipping three double crochets, and crocheting one double crochet in the next stitch until you reach the end of the row. Slip stitch to the third chain of the starting chain five to join the round.
Completing the baby crown
Keep repeating the V-stitch pattern for each subsequent row until you have reached the desired length for the baby crown. Slip stitch to the first single crochet stitch to finish. You can then add a ribbon to the crown to make it more stylish and secure it in place.
Congratulations! You have successfully crocheted a baby crown. This pattern is perfect for babies and toddlers aged one to three years old. Continue exploring the world of crochet and create beautiful items for your loved ones.
Conclusion
Crocheting a baby crown is a fun and rewarding project for beginners and experienced crocheters alike. With just a few basic skills and materials, you can create a beautiful accessory that will delight any little one. So grab your hook and yarn, and start crocheting your own baby crown today. Don't forget to check out the crochet channel for more free patterns and tutorials. Happy crocheting!
 WHY YOU SHOULD CHOOSE BEAUTYBADY


