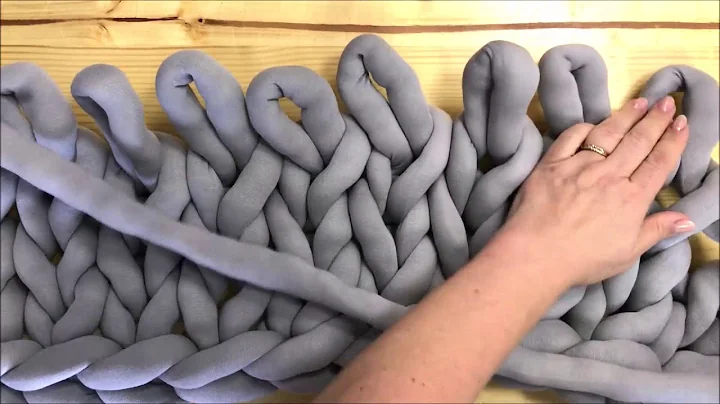
Learn the Perfect Crochet Joining Technique
Table of Contents
- Introduction
- Materials Needed
- The Benefits of the Mattress Stitch
- Step-by-Step Guide: Joining Granny Squares using the Mattress Stitch
- Cutting the Yarn
- Threading the Yarn Needle
- Starting the Mattress Stitch
- Working through the Back Loops
- Joining the Squares
- Adjusting the Squares
- Joining in the Other Direction
- Finishing and Weaving in Ends
- Conclusion
Article
Introduction
Are you looking for a seamless way to join your granny squares together? Look no further than the mattress stitch! In this tutorial, we will guide you through the step-by-step process of joining granny squares using the mattress stitch technique. You don't need a crochet hook for this method - just a yarn needle, a pair of scissors, and some yarn of the same weight as your squares. Let's get started!
Materials Needed
Before we dive into the tutorial, let's gather the materials you'll need for this project. Make sure you have the following items on hand:
- Granny squares (already crocheted)
- Yarn needle
- Scissors
- Yarn of the same weight as your squares
The Benefits of the Mattress Stitch
What makes the mattress stitch so popular among crocheters? Well, one of the main advantages is its near-invisibility. Unlike other joining methods, the mattress stitch creates a seamless finish that blends seamlessly with your squares. The yarn you use to join the squares is barely visible, giving your project a professional and polished look. So, let's learn how to master this technique!
Step-by-Step Guide: Joining Granny Squares using the Mattress Stitch
1. Cutting the Yarn
To begin, cut a piece of yarn that is approximately twice the length of the seam you want to join. It's always better to have a bit more yarn than you think you'll need, so don't be shy about adding a little extra.
2. Threading the Yarn Needle
Once you have your length of yarn, thread it through the eye of your yarn needle. Ensure that the yarn is securely threaded and ready for stitching.
3. Starting the Mattress Stitch
Place two granny squares next to each other, aligning the edges you want to join. Start from one corner and proceed in a specific direction. For this example, we'll start from the top left corner and join towards the right.
4. Working through the Back Loops
The mattress stitch works through the back loops of the stitches in your squares. Identifying the back loops may require some practice, but it becomes easier with experience. The back loop is the loop furthest away from you when looking at the stitch.
5. Joining the Squares
To make the first stitch, go through the back loop only of the chain stitch closest to the corner on one of the squares. Insert the needle from the wrong side to the right side, sliding the yarn through and leaving a small tail for weaving in later. Repeat the same step on the corresponding chain stitch of the other square.
6. Adjusting the Squares
Continue working along the seam, going through the back loops of the stitches on both squares. Repeat the stitching process, alternating between squares, until you reach the next corner.
7. Joining in the Other Direction
To join the next set of squares, start from the opposite corner and work in the other direction. This ensures a secure and stable join. Don't forget to go through the chains already joined in the previous direction when you reach a corner.
8. Finishing and Weaving in Ends
Once you've joined all your granny squares, pull the yarn tight to secure the seam. Adjust the squares as needed to ensure they are all the same size. Finally, weave in the ends of the yarn for a neat and finished look.
Conclusion
Congratulations! You've successfully learned how to join granny squares using the mattress stitch technique. By following this step-by-step guide, you can achieve seamless and professional-looking joins in your crochet projects. Experiment with different color combinations and patterns to create beautiful and unique creations. Happy crocheting!
Highlights
- Learn how to join granny squares seamlessly using the mattress stitch technique
- No crochet hook needed - just a yarn needle, scissors, and yarn
- The mattress stitch creates invisible joins for a polished finish
- Step-by-step guide with detailed instructions and illustrations
- Adjusting the squares for a uniform size
- Weaving in ends for a neat and finished look
FAQ
Q: Can I use a different weight of yarn for joining granny squares?
A: It's best to use yarn of the same weight as your granny squares to ensure a consistent and even join.
Q: How do I weave in the ends of the yarn after joining the squares?
A: To weave in the ends, thread the yarn tail through a yarn needle and pass it through the stitches on the wrong side of the squares. Trim any excess yarn once it is woven in securely.
Q: Can I use the mattress stitch to join other crochet projects besides granny squares?
A: Yes, the mattress stitch can be used to join other crochet pieces like garments, blankets, and accessories. It is a versatile joining technique that creates a seamless and professional finish.
 WHY YOU SHOULD CHOOSE BEAUTYBADY


