Learn the Art of Crocheting a Beautiful Basket
Table of Contents
- Introduction
- Materials Needed
- Step 1: Making a Slipknot
- Step 2: Chain Three
- Step 3: Double Crochet Circle
- Step 4: Increase the Stitches
- Step 5: Build up the Sides
- Step 6: Repeat Rounds Four and Five
- Step 7: Last Three Rounds
- Step 8: Finishing Touches
- Conclusion
How to Make a Crochet Basket
Crochet is a popular craft that allows you to create beautiful and functional items. One such item is a crochet basket, which can be used for storing various items or simply as a decorative piece. In this tutorial, we will guide you through the steps to create your own crochet basket using wool-ease, thick & quick yarn and a crochet hook.
Materials Needed
Before we begin, gather the following materials:
- Wool-ease, thick & quick yarn (six bulky)
- A nine-millimeter crochet hook
- Yarn needle
- Scissors
Step 1: Making a Slipknot
To start the crochet basket, you will need to make a slipknot. Insert your crochet hook into the slipknot, then chain three.
Step 2: Chain Three
After making the slipknot, chain three. This will serve as the base for your crochet circle.
Step 3: Double Crochet Circle
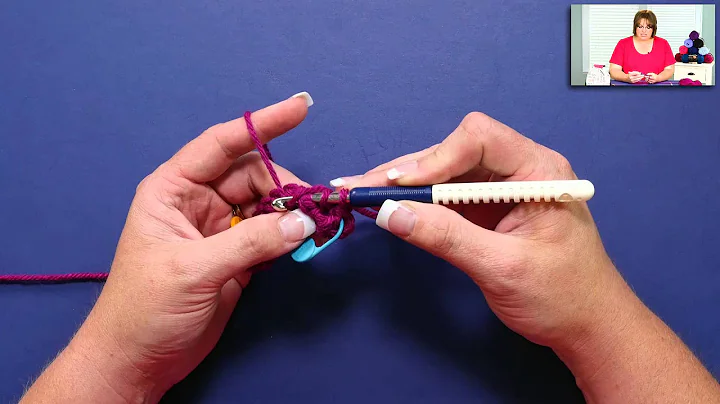
In this step, you will work double crochets into the third chain from the hook. To create a circle, repeat this process by doing nine more double crochets in the same chain space.
Step 4: Increase the Stitches
To build up the base of the basket, you need to increase the stitches. Chain three and work two double crochets in each stitch around. By the end of this round, you should have a total of twenty double crochets.
Step 5: Build up the Sides
Continue to build up the sides of the basket by repeating round four. Chain three, then work two double crochets in the first stitch. Repeat this process in each stitch around.
Step 6: Repeat Rounds Four and Five
To further build the sides of the basket, repeat rounds four and five for the next four rounds. Continue working double crochets and single crochets in each stitch around until you have completed rounds seven, eight, nine, and ten.
Step 7: Last Three Rounds
In the last three rounds of the basket, you will create handles and work single crochets around. Follow the instructions carefully to ensure the handles are sturdy and the basket has a finished look.
Step 8: Finishing Touches
Once you have completed the last round, fasten off and weave in any loose ends using a yarn needle. Trim the excess yarn. Your crochet basket is now complete!
Conclusion
Making a crochet basket is a fun and rewarding project. By following these step-by-step instructions, you can create a beautiful and functional basket to use for various purposes. Get creative with different yarn colors and sizes to personalize your basket. Enjoy the process of crocheting and showcase your skills with this practical and stylish creation. Happy crocheting!
Highlights
- Learn how to make a crochet basket using simple techniques
- Use wool-ease, thick & quick yarn for a bulky and sturdy finished product
- Create a beautiful and functional basket for storage or decoration
- Customize your basket with different yarn colors to suit your style
FAQ
Q: Can I use a different type of yarn for this project?
A: Yes, you can use any type of yarn, but keep in mind that the size and texture may vary, thus affecting the final look and size of the basket.
Q: Is this project suitable for beginners?
A: This project is suitable for beginners with basic crochet skills. The instructions are provided in a step-by-step manner to help you through the process.
Q: How long does it take to complete a crochet basket?
A: The time required to complete a crochet basket depends on your crochet speed and experience. It can take a few hours to a couple of days to finish the project.
 WHY YOU SHOULD CHOOSE BEAUTYBADY


