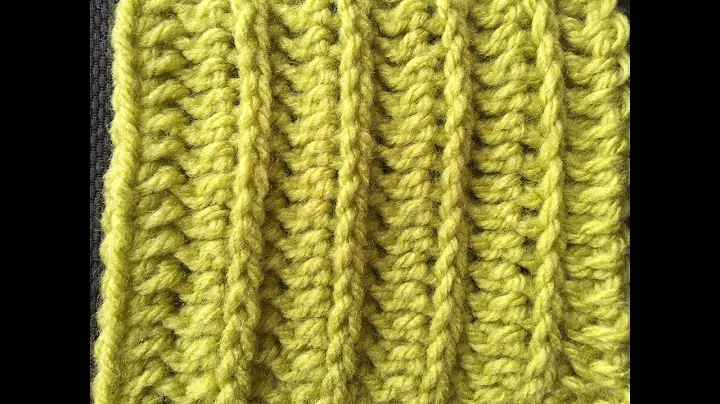
Easy Tulip Bag Crochet Tutorial
Table of Contents
- Introduction
- Materials Needed
- Crocheting the Flower Bed
- Step 1: Making the Magic Ring
- Step 2: Increasing the Stitches
- Step 3: Continuing to Increase the Stitches
- Step 4: Adding Leaves
- Step 5: Creating the Flower
- Step 6: Adding the Final Touches
- Finishing the Flower Bed
- Conclusion
Crocheting a True Love Flower Bed
Crocheting is a wonderful craft that allows you to create beautiful and intricate designs with yarn and a crochet hook. In this tutorial, we will be crocheting a true love flower bed using double light yarn and a four-millimeter hook. The flower bed will feature a stunning flower in the center surrounded by leaves, creating a lovely and vibrant piece. So, grab your materials and let's get started!
Materials Needed
Before we begin, make sure you have the following materials handy:
- Double light yarn in your desired colors (such as fibre milk and green)
- A four-millimeter crochet hook
- Scissors
- Yarn needle
Now that you have everything you need, let's dive into the step-by-step process of crocheting the flower bed.
Step 1: Making the Magic Ring
To start the flower bed, we will first create a magic ring. This ring will serve as the center of the flower. Insert your crochet hook into the yarn, make a slip knot, and tighten it. Now, make six single crochet stitches into the magic ring. Pull the yarn tail to close the ring, securing the stitches in place.
Step 2: Increasing the Stitches
In the second row, we will increase the number of stitches to give the flower bed a fuller look. Chain one and make two single crochet stitches in each stitch of the previous row. This means you will have a total of 12 stitches at the end of this row.
Step 3: Continuing to Increase the Stitches
Continue increasing the stitches in each row to gradually expand the flower bed. In the third row, make one single crochet stitch in the first stitch, followed by two single crochet stitches in the next stitch. Repeat this pattern until the end of the row, resulting in a total of 18 stitches.
Step 4: Adding Leaves
To add a touch of greenery and visual interest, we will now crochet leaves around the flower bed. Switch to green yarn and insert your hook into the space between stitches. Make a slip knot and secure the tail. Chain four and make a double crochet in the same space. Chain one and repeat this pattern in the next space. Continue this process until you have added leaves to all spaces around the flower bed.
Step 5: Creating the Flower
Now it's time to bring the flower to life. Insert your hook into the space in the flower bed and attach your chosen color yarn. Make a slip knot and chain three to secure the tail. Chain one, then make two double crochet stitches in the same space. Chain one and repeat this pattern in the next space. Continue this process until you have created petals all around the flower bed.
Step 6: Adding the Final Touches
To complete the flower bed, we will add some finishing touches. Slip stitch into the first stitch to secure the yarn, then cut the yarn and secure the tail. Trim any excess yarn to ensure a neat and tidy finish.
Finishing the Flower Bed
Repeat the above steps to create additional flowers and leaves until you achieve the desired size and design for your flower bed. Once all the elements are complete, fold the flower bed in half and join the edges with single crochet stitches. Cut the yarn and secure the tail.
Conclusion
Congratulations! You have successfully crocheted a true love flower bed. This intricate and colorful piece will add a touch of beauty to any space. Get creative with your color choices and arrangements to make your flower bed truly unique. Enjoy the process of crocheting and creating something beautiful with your own hands. Happy crocheting!
Highlights
- Learn how to crochet a true love flower bed from start to finish
- Create a stunning flower bed with colorful flowers and leaves
- Use double light yarn and a four-millimeter hook for the best results
- Add your own personal touch by choosing unique color combinations
- Enjoy the process of crocheting and creating something beautiful
Frequently Asked Questions
Q: Can I use a different type of yarn for this project?
A: Yes, you can use any type of yarn you prefer. Just make sure to adjust the hook size accordingly.
Q: How long does it take to complete the flower bed?
A: The time taken to complete the flower bed depends on your crochet speed and experience. It can range from a few hours to a couple of days.
Q: Can I add more flowers to the bed?
A: Absolutely! Feel free to add as many flowers as you like to create a larger and more vibrant flower bed.
Q: Can I use this pattern to make other crochet projects?
A: While this tutorial specifically covers crocheting a flower bed, you can adapt the techniques and patterns to create other crochet projects as well. Explore and let your creativity soar!


 WHY YOU SHOULD CHOOSE BEAUTYBADY