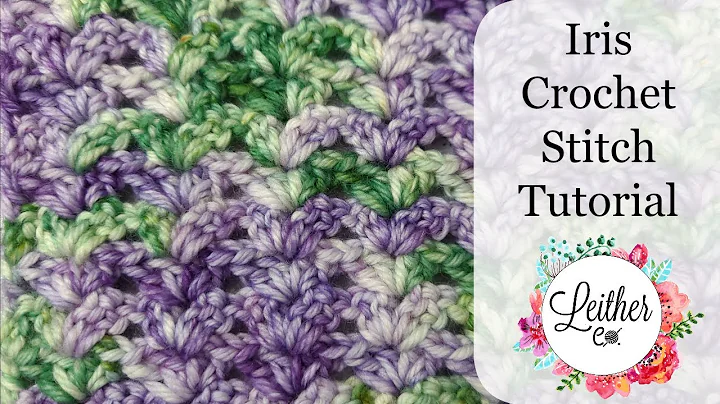
Crochet Can Cozy Tutorial
Table of Contents:
- Introduction
- Materials Needed
- The Magic Ring Technique
- Round 1: Creating the Base
- Round 2: Increasing Stitches
- Round 3: Continuing the Increase
- Round 4: Changing Colors
- Round 5: Adding Texture
- Round 6: Changing Colors Again
- Round 7: Alternating Stitches
- Rounds 8-10: Repeating the Pattern
- Rounds 11-16: Creating Stripes
- Finishing Off
How to Crochet a Can Cozy
Are you looking for a fun and practical crochet project? Look no further! In this tutorial, I'll show you how to crochet a cute and functional can cozy. It's perfect for keeping your beverages cold and your hands cozy. Plus, it's a great way to practice your crochet skills and experiment with different colors. So grab your yarn and let's get started!
Materials Needed
Before we dive into the crochet pattern, let's gather all the materials we'll need for this project. Here's a list of everything you'll need:
- Yarn: I recommend using 100% cotton yarn for its absorbency. You can choose any colors you like, but for this tutorial, I'll be using red, white, and blue.
- Crochet Hook: You'll need a 5.0mm (H) hook or a size that matches the weight of your yarn.
- Yarn Needle: This will be used to weave in your ends and finish off your project.
- Scissors: For cutting the yarn and trimming any excess.
Now that we have everything we need, let's jump into the crochet instructions.
The Magic Ring Technique
To start our can cozy, we'll be using the magic ring technique. This technique creates a tight and seamless circle that acts as the base for our cozy. Here's how you can create a magic ring:
- Hold the end of your yarn between your first two fingers and hold it in place with your thumb.
- Wrap the yarn around your fingers to form an "X" on the back of your hand.
- Insert your crochet hook under the bottom strand of the "X" and catch the top strand with your hook.
- Pull the top strand through the bottom strand, creating a loop on your hook. This is your first chain stitch.
- Chain one more time to create a total of two chain stitches.
- Now, we'll place eight half double crochets into the magic ring. Remember, the initial two chain stitches do not count as a stitch.
Round 1: Creating the Base
In round 1, we'll be creating the base of our can cozy. Follow these steps:
- Insert your crochet hook into the magic ring and yarn over.
- Pull the yarn through the ring, creating a loop on your hook.
- Yarn over once more and pull through all three loops on your hook. This is your first half double crochet.
- Repeat step 3 seven more times, placing a total of eight half double crochets into the magic ring.
- Pull the tail of your yarn to tighten the magic ring and create a small circle.
- Slip stitch into the first half double crochet to join the round.
Round 2: Increasing Stitches
Now that we have our base, we'll be increasing the stitches in round 2. This will create a slightly larger circle. Here's how you can do it:
- Chain two (this does not count as a stitch) and crochet two half double crochets into the same stitch.
- Crochet two half double crochets into each stitch around. This will give you a total of 16 stitches.
- Slip stitch into the first half double crochet to join the round.
Round 3: Continuing the Increase
To further increase the size of our can cozy, we'll continue with the stitch increase in round 3. Follow these steps:
- Chain two and crochet a half double crochet into the same stitch.
- Crochet one half double crochet into the next stitch.
- Crochet two half double crochets into the following stitch.
- Repeat steps 2 and 3 all the way around, alternating between one and two half double crochets.
- Slip stitch into the first half double crochet to join the round.
Round 4: Changing Colors
In round 4, we'll be changing colors to add some visual interest to our can cozy. Here's how you can do it:
- Slip stitch into the first half double crochet and change to your desired color.
- Chain two and crochet a half double crochet in the same stitch.
- Crochet one half double crochet in each stitch around.
- Slip stitch into the first half double crochet to join the round.
Continue reading the full article here.
FAQ
Q: Can I use acrylic yarn instead of cotton yarn for this project?
A: Yes, you can use acrylic yarn if you prefer. However, cotton yarn is more absorbent and recommended for can cozies.
Q: How much yarn do I need to make one can cozy?
A: You will only need about 30-60 yards of yarn, depending on the size of your cozy.
Q: Can I make the can cozy in different colors or patterns?
A: Absolutely! Feel free to get creative and experiment with different color combinations and patterns.
Q: How do I weave in the ends of my yarn?
A: To weave in the ends, use a yarn needle to thread the yarn through a few stitches on the back of your work. Trim any excess yarn.
Q: Can I use this pattern for different can sizes?
A: The pattern provided is for a standard-sized can. However, you can easily adjust the pattern by adding or subtracting stitches to fit different can sizes.
 WHY YOU SHOULD CHOOSE BEAUTYBADY


