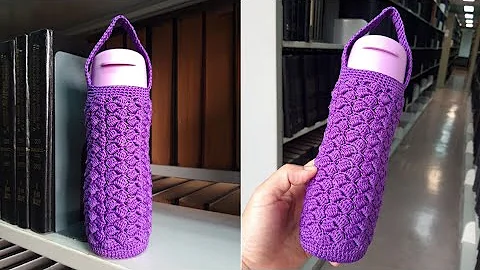
Create Beautiful Ribbon Tree Ornament with Crochet
Table of Contents
- Introduction
- Materials Needed
- Step 1: Making the Foundation Chain
- Step 2: Working the Row
- Step 3: Folding the Ribbon
- Step 4: Adding Beads
- Step 5: Securing the Beads and Finishing Touches
- Conclusion
Introduction
Crocheting ornaments is a fun and creative way to add a personal touch to your holiday decorations. One popular ornament to make is the ribbon tree. In this tutorial, we will learn how to crochet a ribbon tree ornament. With just a few materials and simple stitches, you can create a beautiful and unique ornament to hang on your tree or give as a gift.
Materials Needed
Before we get started, let's gather all the materials we will need for this project. Here's what you'll need:
- Worsted weight cotton yarn
- 3.5mm crochet hook
- Thread
- Beads
- Needle for thread
- Yarn needle
- Scissors
Step 1: Making the Foundation Chain
To begin, we need to make a foundation chain. The length of your chain will depend on how long you want your ribbon tree to be. For this tutorial, we will start with a chain of 122. However, if you want to make your tree smaller or taller, you will need a multiple of six stitches plus two for your foundation chain. So feel free to adjust the length as desired.
Step 2: Working the Row
Once you have your foundation chain, it's time to work the row. We will be working only one row for this pattern. Begin by inserting your hook into the second chain from the hook and work a single crochet. Then, work a half double crochet into the next stitch, followed by a double crochet in the next stitch, and a triple crochet in the next. Continue this pattern: double crochet, half double crochet, single crochet until you reach the end of the row.
Step 3: Folding the Ribbon
Now that you have completed the row, it's time to fold your ribbon into the shape of a tree. To do this, take one end of the ribbon and fold it over at about two inches. Then, create the next fold at about four inches. Continue folding the ribbon, decreasing the length of the folds until you reach a point at the top. Adjust the folds to your desired shape, making the tree taller or shorter as you prefer.
Step 4: Adding Beads
To add extra sparkle to your ribbon tree, we will be adding beads. Start by placing one bead at the bottom of the tree, and then another bead after each fold. The placement of the beads will create a cascading effect as the tree unfolds. Make sure the beads are halfway through the ribbon and aligned along the center.
Step 5: Securing the Beads and Finishing Touches
After placing the beads, secure them by threading your needle with thread. Carefully thread the needle through the center of the ribbon tree, going through each bead as you go. This will ensure that the beads stay in place and give your ornament a polished look. Once you reach the top, tie a knot or sew through a few stitches to secure the last bead. Trim off any excess thread. Finally, create a small loop at the top to serve as a hanger.
Conclusion
Congratulations! You have successfully crocheted a ribbon tree ornament. These ornaments make great additions to your holiday decor or thoughtful gifts for friends and family. Get creative with different colors of yarn and beads to personalize your ornaments even more. Enjoy the process of crafting and have a wonderful time spreading holiday cheer with your handmade creations.
Highlights
- Learn how to crochet a beautiful ribbon tree ornament
- Minimal materials required: yarn, crochet hook, thread, beads, needle, and scissors
- Simple stitches used for easy and enjoyable crocheting
- Customize the length and shape of your ribbon tree to fit your preference
- Add beads for a touch of elegance and sparkle
- Secure the beads and finish off your ornament with a durable hanger
- Share your creations with others and spread holiday cheer
FAQ
Q: Can I use a different weight of yarn for this project?
A: While this tutorial uses worsted weight cotton yarn, you can experiment with different yarn weights to achieve different looks. Keep in mind that the size of your finished ornament may vary.
Q: How many beads do I need for one ribbon tree ornament?
A: The number of beads needed will depend on the length of your ribbon and how many folds you create. On average, you will need around 6 beads, but feel free to adjust according to your desired design.
Q: Can I use different colors of yarn and beads?
A: Absolutely! Feel free to get creative with your color choices and make the ribbon tree ornament truly unique to your style and preferences.
Q: Are there any other ways to customize the ornament?
A: Yes, there are many ways to personalize your ribbon tree ornament. You can try using different types of beads, adding embellishments like sequins or pearls, or even attaching a small charm or a mini bow to the top.
Q: How long does it take to complete one ribbon tree ornament?
A: The time it takes to complete the ornament will depend on your crochet speed and experience. On average, it can take anywhere from 30 minutes to an hour to finish one ornament.
Q: Can I use this pattern to make larger ribbon trees?
A: Yes, you can adjust the size of your ribbon tree by increasing the number of stitches in the foundation chain and following the pattern accordingly.
 WHY YOU SHOULD CHOOSE BEAUTYBADY


