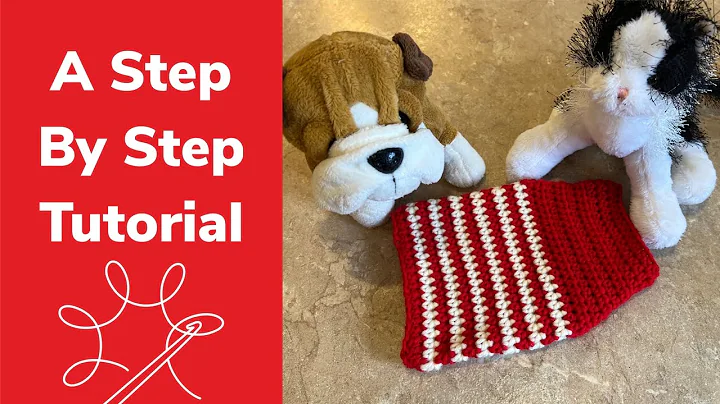
Create a Stunning Granny Square Blanket with a Perfect Stash Buster Project!
Table of Contents
- Introduction
- Materials needed
- Creating the granny squares
- 3.1 Magic ring/magic circle
- 3.2 Round 1: Creating the center of the square
- 3.3 Round 2: Adding the first round of clusters
- 3.4 Round 3: Building corners and sides
- 3.5 Round 4: Forming sides with four corners
- Making the blanket
- 4.1 Determining the size of the blanket
- 4.2 Joining the granny squares
- Finishing touches
- 5.1 Adding a scalloped edging
- Conclusion
How to Make a Vintage-Style Granny Square Blanket
Granny square blankets have a timeless and vintage appeal that never goes out of style. In this step-by-step guide, I will show you how to create your own vintage-style granny square blanket, perfect for beginners and a great way to use up your yarn stash. With just a few simple techniques, you can create a beautiful and cozy blanket that will impress your friends and family. So grab your crochet hook and let's get started!
1. Introduction
The granny square blanket is a classic crochet pattern that has been passed down through generations. It consists of small individual squares that are joined together to create a larger piece. These squares can be made in a variety of colors and patterns, allowing you to unleash your creativity and personalize your blanket.
2. Materials Needed
Before we dive into the tutorial, let's gather all the materials you will need to make your granny square blanket:
- Worsted weight yarn (any colors of your choice)
- 5.5 millimeter crochet hook
- Scissors
- Yarn needle
Make sure to choose colors that complement each other and create a cohesive look for your blanket. You can either use one color for each square or mix and match different colors to create a vibrant and unique design.
3. Creating the Granny Squares
3.1 Magic Ring/Magic Circle
To start each granny square, we will begin with a magic ring or magic circle. This technique creates a tight and seamless center for your square. If you are not comfortable with the magic ring, you can also start with a chain of four and join it with a slip stitch to form a ring.
3.2 Round 1: Creating the Center of the Square
In the first round, we will be working a series of double crochets and chain spaces to create the center of the granny square. This round will lay the foundation for the rest of the square.
3.3 Round 2: Adding the First Round of Clusters
In the second round, we will be adding the first round of clusters, which are groups of three double crochets. These clusters will give the square texture and depth. We will also be working chain spaces in between the clusters.
3.4 Round 3: Building Corners and Sides
Round 3 is where we start building the corners and sides of the granny square. We will be making four corners and four sides to create a square shape. This round will give more structure to the square and prepare it for joining.
3.5 Round 4: Forming Sides with Four Corners
In the final round, we will continue to build the corners and sides of the square. This round follows the same pattern as Round 3, but with an increased number of spaces between the corners. This will gradually increase the size of the square and create a visually appealing pattern.
4. Making the Blanket
4.1 Determining the Size of the Blanket
Before you begin making your granny squares, it's important to determine the desired size of your blanket. This will help you calculate the number of squares needed for your project. You can make a lap blanket, a throw blanket, or even a larger blanket for your bed.
4.2 Joining the Granny Squares
Once you have completed all your granny squares, it's time to join them together to create the blanket. There are various techniques for joining granny squares, including slip stitching, crocheting them together, or using a join-as-you-go method. Choose the method that you find most comfortable and suits the look you want to achieve.
5. Finishing Touches
5.1 Adding a Scalloped Edging
To give your granny square blanket a polished look, you can add a scalloped edging. This decorative border will frame your blanket and add a touch of elegance. There are different crochet stitch patterns you can use to create the scalloped edging, such as shells or picots. Experiment with different patterns to find the one that complements your blanket design.
6. Conclusion
By following this tutorial, you have learned how to make a vintage-style granny square blanket. The possibilities are endless when it comes to color combinations and patterns, allowing you to create a unique and personalized blanket. Crocheting a granny square blanket is not only a fun and relaxing project but also a creative way to add a cozy touch to your home. So gather your supplies, unleash your creativity, and enjoy the process of making your very own granny square blanket.
Highlights:
- Learn how to make a vintage-style granny square blanket
- Perfect for beginners and stash-busting projects
- Customizable color combinations and patterns
- Step-by-step instructions
- Joining techniques for creating a finished blanket
- Adding a scalloped edging for a polished look
FAQ:
Q: Can I use different types of yarn for the granny squares?
A: Yes, you can use any type of yarn, but keep in mind that different weights may result in different square sizes. Adjust your hook size accordingly.
Q: How many squares do I need to make for a larger blanket?
A: The number of squares will depend on the desired size of your blanket. Calculate the number of squares needed based on the size of each square and the final dimensions of your blanket.
Q: Can I use this pattern to make other crochet projects?
A: Absolutely! Once you've mastered the granny square technique, you can use it to create various other crochet projects such as scarves, pillows, and even clothing items.
Q: Can I use different crochet stitches for the granny squares?
A: While the tutorial focuses on the traditional granny square pattern, you can experiment with different crochet stitches to create unique variations of the granny square. Let your creativity guide you!
 Beauty


 WHY YOU SHOULD CHOOSE BEAUTYBADY