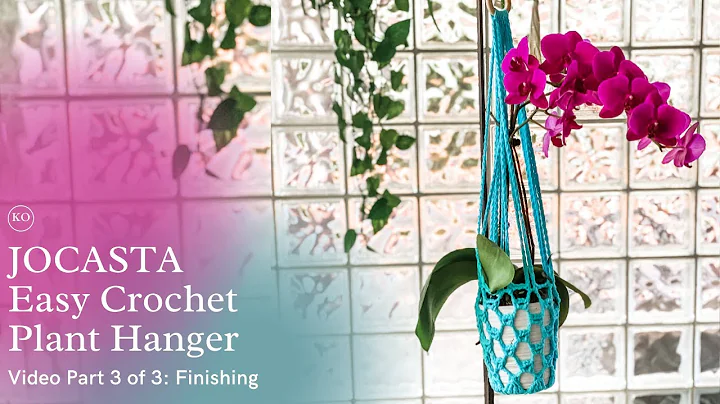
Create a Stunning Crochet Succulent Hanger
Table of Contents
- Introduction to Crochet Mini Plant Hanger
- Materials Needed
- Step-by-Step Instructions
- Making the Slipknot
- Creating the Foundation Chains
- Round 1: Half Double Crochet Stitches
- Round 2: Increasing Stitches
- Round 3: Half Double Crochet Stitches
- Round 4: Increasing Stitches
- Rounds 5-7: Repeating Stitches
- Top Part of the Hanger
- Final Round: Single Crochet Stitches
- Finishing Touches
- Tips for Success
- Pros and Cons of Using a Crochet Mini Plant Hanger
- Conclusion
Introduction to Crochet Mini Plant Hanger
In this article, we will learn how to make a crochet mini plant hanger. This pattern is simple and easy to follow, making it perfect for beginners. By using multicolored yarn and a 4mm crochet hook, you can create a beautiful and functional plant hanger to showcase your favorite mini plants.
Materials Needed
Before we get started, let's gather the materials needed for this project. You will need:
- Multicolored yarn
- 4mm crochet hook
- Scissors
- Yarn needle
Step-by-Step Instructions
- Making the Slipknot: To begin, create a slipknot using the 4mm crochet hook.
- Creating the Foundation Chains: Make three foundation chains, then work one and a half double crochet (DC) stitches into the third chain. Continue making twelve half DC stitches in the same stitch.
- Round 1: Half Double Crochet Stitches: Join the stitches together with a slip stitch. For the next round, make two chains and one more half DC stitch in the same stitch. Make two half DC stitches in every stitch of this round.
- Round 2: Increasing Stitches: Repeat the previous round, increasing the stitches in each stitch. This will create a larger base for the plant hanger.
- Round 3: Half Double Crochet Stitches: Work one half DC stitch in each stitch of this round, except for the last two stitches.
- Round 4: Increasing Stitches: Make two double crochet (DC) stitches in each stitch, excluding the last two stitches.
- Rounds 5-7: Repeating Stitches: Repeat the pattern of increasing stitches and half DC stitches for three more rounds.
- Top Part of the Hanger: Make six to twelve chains, then work one slip stitch, one chain, and one single crochet stitch in each stitch. Complete this round with single crochet stitches.
- Final Round: Single Crochet Stitches: Work more single crochet stitches in each stitch of the previous round.
- Finishing Touches: Tie a simple knot and insert it into the loop of the hanger. Trim any excess yarn and attach the hanger to the bottom part. Your crochet mini plant hanger is now complete!
Tips for Success
- Choose a yarn color that complements your mini plants.
- Practice tension control to achieve even stitches.
- Take your time and follow the instructions carefully.
- Experiment with different yarn weights and hook sizes to achieve different sizes of plant hangers.
Pros and Cons of Using a Crochet Mini Plant Hanger
Pros:
- Adds a decorative touch to your mini plants.
- Allows your plants to hang freely, promoting airflow and healthy growth.
- Can be customized with various yarn colors and patterns.
- Makes a great gift or home decor item.
Cons:
- May not be suitable for larger or heavier plants.
- Requires some crochet skills and practice.
- May need to adjust the pattern for different plant sizes.
Conclusion
Creating a crochet mini plant hanger is a fun and rewarding project for any crochet enthusiast. With just a few materials and simple stitches, you can make a beautiful hanger to display your mini plants. Follow the step-by-step instructions and tips provided in this article, and you'll have a lovely plant hanger in no time. Enjoy adding a touch of handmade charm to your indoor garden!
 WHY YOU SHOULD CHOOSE BEAUTYBADY


